A few months back my friends cousin held a mommy crafting day and taught us all how to make really cute name blocks. They actually don't have to be a name, per se. Other ladies there made ones that said "Fall" or "Peace", which turned out adorable! Before we went to the party we all picked up the paper that we wanted to use on our blocks. I bought regular designed paper from Michael's (cheating on "the lobby"... but whatever), as well as some plain colored paper.

Before we got to the party her husband had cut 2 x 4's into three different sizes. She painted the blocks for everyone (so that they could dry) before we arrived. The blocks need to really dry before you start decorating them. Obviously, the blank spot on the front is where you will put your colored paper.

This was my set up before I got started. Luckily, she suggested some pretty sparkly paper for the letters instead of what I had picked out. The sparkle really makes it stand out against a designed paper. Thank goodness for an expert being around, or I would have totally GOOFED. Anyways, you cut the paper to fit just inside the blocks, and use modge podge to apply the paper to the block. FIRST, do a thin layer on the block and press the paper on, making sure that you flatten out any air bubbles. Let each block dry after applying the paper. While that was drying she used her Cricut Machine (these are sooo bad ass... I totally want one... someday... when I have the money!) to cut out the letters for our blocks. She also has another machine (I think it was Cricut brand as well) that makes the letters into a sticker.
Seriously, without this machine you would need to be an expert with scissors... or have FAR more patience than I've ever experienced. Anyways, by the time we got those all cut the paper was dry-ish. Next, we applied the letter stickers to the blocks. Once you have the letters where you want them, paint a thin layer of modge podge over the ENTIRE block. This seals the paper on, the letter on, and gives the whole block a nice glossy finish. NOTE... the modge podge will look a little WHITE (like old school glue) when you apply it. Don't freak... this is totally normal and it will dry completely clear. And, another tip, try to smooth out the modge podge the best you can, and big clumps will still dry clear, but will look like a big clear booger. Yeah, I said it... and, what?!

Decorating the blocks is totally up to you. I used a few little flower pieces combined to make a flower that fit my colors. Hot glue those bad boys together, with a rhinestone in the middle, and BOOM... looks like you bought it in one piece. I also used some sparkly teal & pink tulle as an accent on the smaller blocks. Watch out for this stuff... I went home looking like I'd been to the glitter factory... and, I'm not talking about where they make glitter!
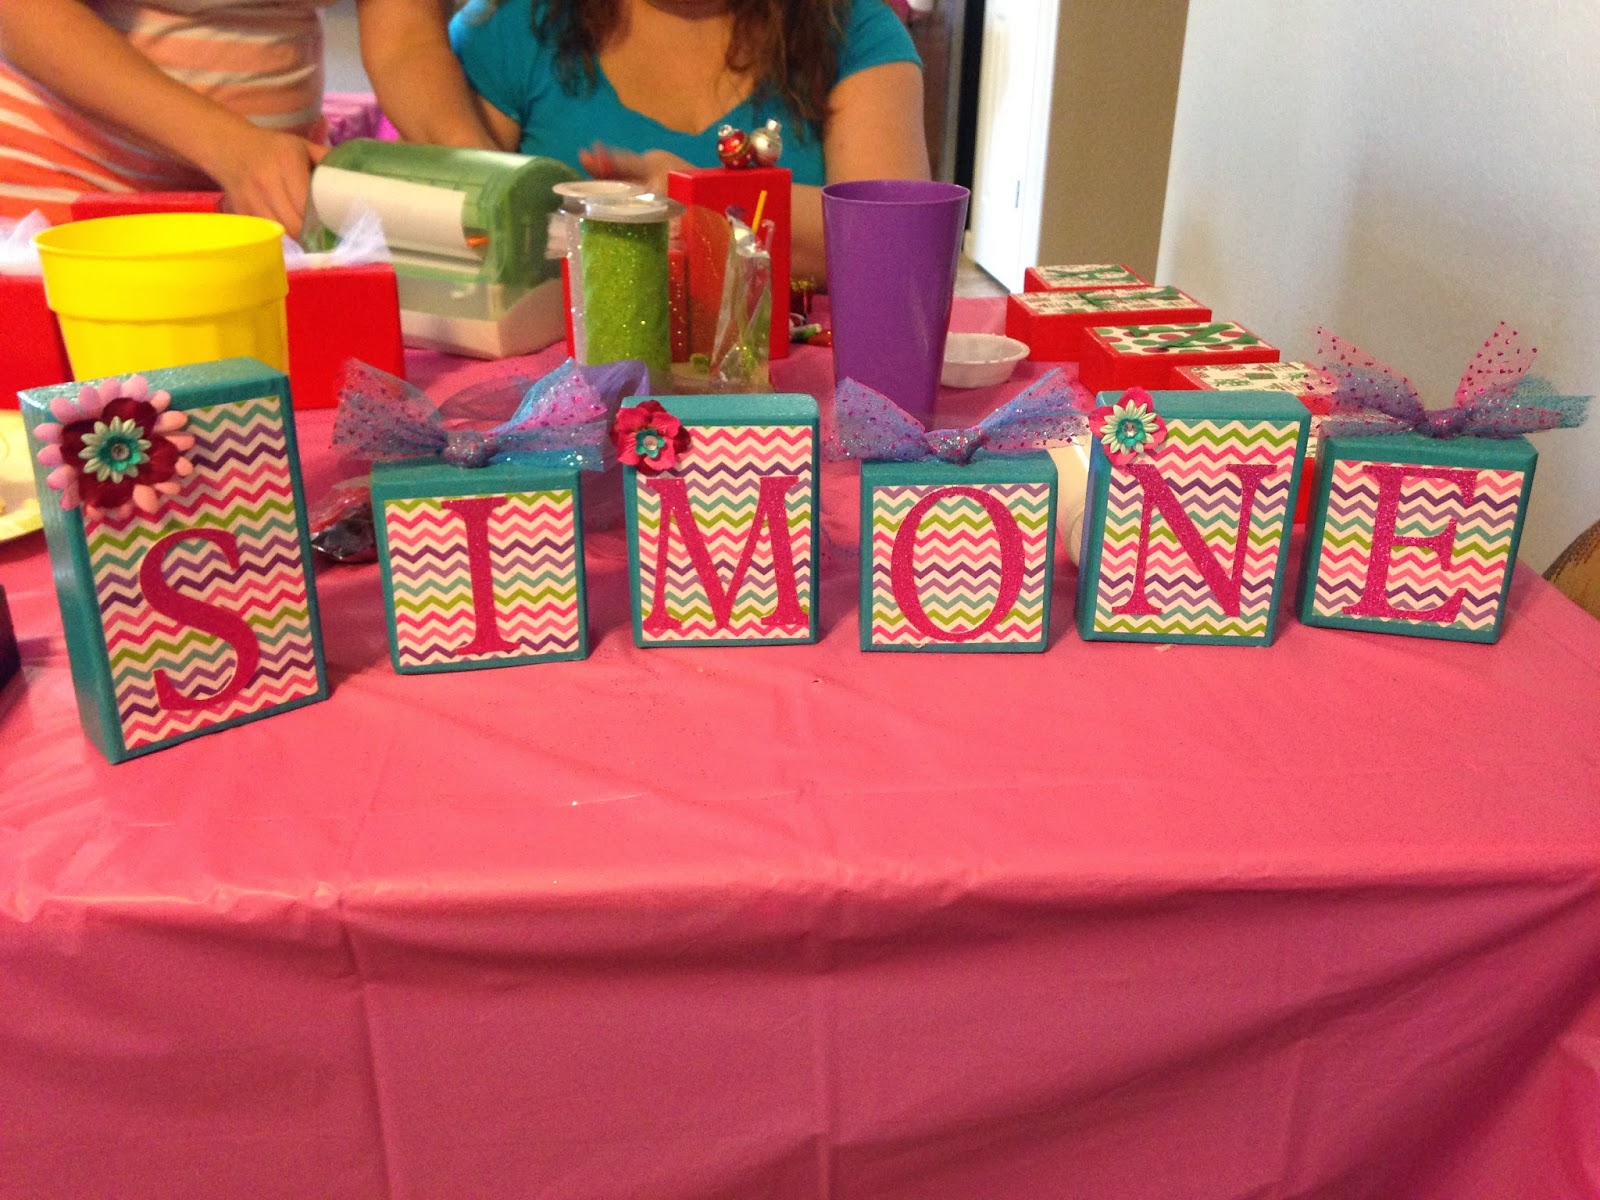
Here's my finish product at the party! It was a great craft to do with friends and I love it in Simone's room...
.JPG)